Monday, September 30, 2013

Clamps and lumber

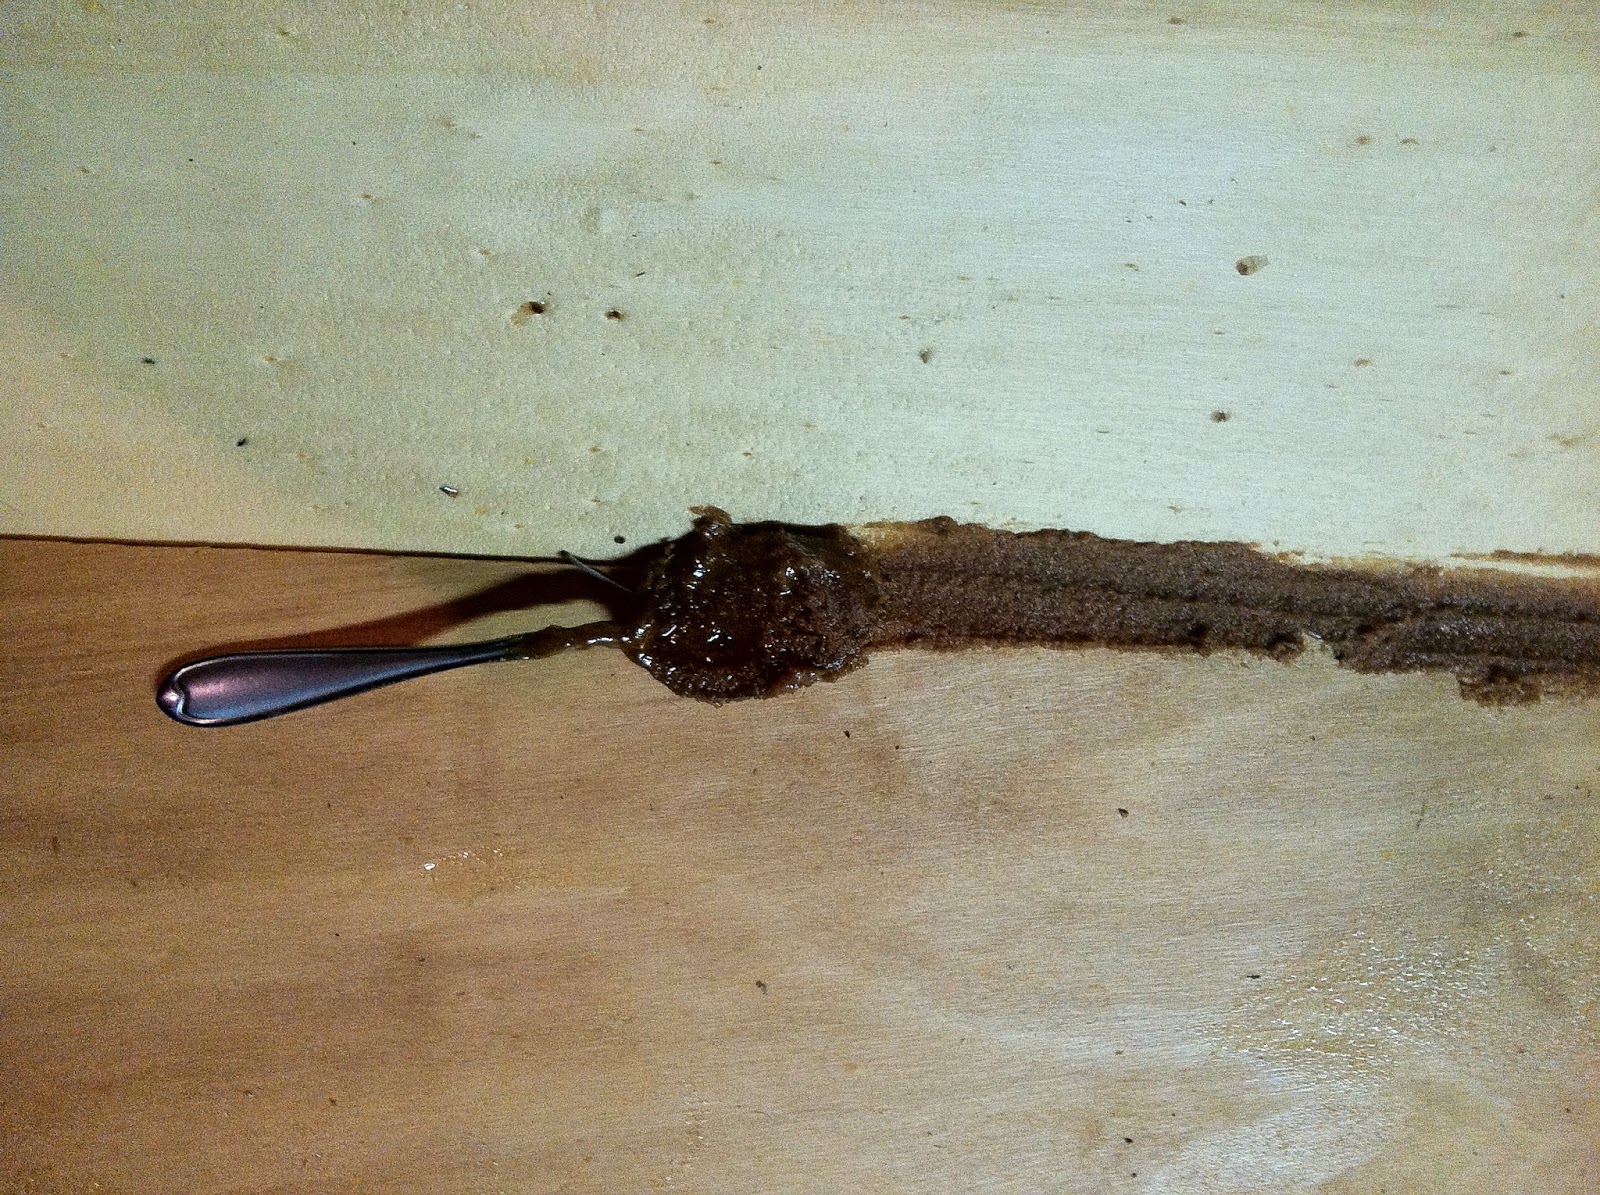
I spent a lot of time, way too much time, looking into lumber for the gunwales. Every canoe building website I looked at suggested ash. Nowhere in Boulder sells ash, and after dismissing all the alternatives for one reason or another, I decided to buy lumber online. Choosing gunwales is tricky because you need wood that is strong yet pliable. The thinner you make the gunwales, the lighter the boat will be, but it won't be as robust. I need thick gunwales on the inside so that I can attach seats and portage yoke. I ended up buying 4 - 1"x4" boards of ash, each 8 feet long. It would have been nice to use one long piece of wood for the gunwale, but it's just not feasible. The dimensions I am going with are symmetrical inwales and outwales, each 13/16" in width and 1 1/4" in depth. These gunwales will be attached with epoxy and clamped on. I had to make a lot of C clamps for this purpose, so I cut a 3" PCV pipe into a bunch of pieces and cut a notch out of them.  I now have 20 C clamps to hold the gunnel onto my boat. While this is a cheap and easy way to make clamps, it was also terribly messy. The plastic sawdust sticks to everything and will be around for a very long time. 

Finishing the inside seams


I spent a lot of time working on the inside seams. Mostly because I was busy with other things, but also because I didn't want the epoxy to run too much. So, I would tilt the canoe to the side I was working on so that any epoxy would run into the seam. At left, you can see a close up of the seam filler, which is epoxy and wood flour. I referred to it as 'baby poop', but it's consistency was more like chunky peanut butter.


Despite my hard efforts to be gentle with the canoe, my roommate decided trip over something and test the hulls structural capabilities. The hull failed the test. I patched the ~20" crack with a strip of fiberglass cloth and epoxy, but I'm not sure how well I did. Hopefully the fiberglass cloth laid on the outside will be enough. I am a bit worried about bubbles of air in the cloth leading to leaks.

I finished the inside seams. The color difference in the main seam is due to a change in wood flour. Not the most aesthetically pleasing, but now my canoe is not symmetrical, so it should be easier keeping track of which way is front. Although I haven't yet decided which is the front.


Friday, June 7, 2013

Joining the hulls

I was aware of this earlier, but I made a mistake in cutting my boards. The bottom pieces were an inch or two short. Because of this I had to deviate from the directions a little bit when joining the two hulls. I was supposed to have a nice flush seam on the bottom and both sides, however when I lined up the bottoms of the canoe, the sides overlapped by a couple inches. I decided to run with it and just have overlapping sides on the canoe. The plywood is thin enough that this shouldn't make a huge difference. I used "butt blocks" on the bottom of the canoe to hold the two hulls together. Butt blocks are just boards that lay over the two pieces of plywood and span the seam. I glued the but blocks on and the sides together at the overlap. I weighted it down to make sure the glue stuck and put clamps on the sides. For glue, I am using an epoxy resin. The resin I chose 4 years ago, or possibly because it's 4 years old, takes a very long time to cure. It takes about a week to fully cure and at least 48 hours before it's not too sticky.
After gluing the hulls together, I started tightening the seams. My friend Jay helped out this day. Having another person is really useful when handling the canoe at this stage. We flipped the hull over to check for straightness. There was a little bit of a curve that I tried to fix by adjusting the wire ties. My biggest concern is twist in the hull. Any twist will make the canoe not paddle straight, which could be irritating. However since this is my first attempt at anything like this, I have no idea how sensitive the canoe's glide is to any asymmetry.

With the hull in pretty good shape, it was time to start gluing the inside seams and laying down the fiberglass tape. It is very hard to put tape and resin into seams with cracks or sharp angles, so before doing so you fillet the seam. My instructions were about that descriptive. Filleting the seam means mixing epoxy resin and wood flour into a peanut butter like paste. Wood flour is very fine sawdust that is the product of sanding. Most sanders have a little bag in which they vacuum the fine saw dust. I emptied ours and made some fillet. Over the fillet I put fiberglass cloth which turns transparent when you add epoxy. My sanders didn't have much wood flour however, and I quickly ran out. I am currently experimenting with some courser sawdust to see if that will work. Otherwise, I'll have to purchase some wood flour.


The canoe takes shape!

May 26, 2013
The epoxy dried and I was ready to stitch the canoe together. I cut about 100 6" pieces of #18 wire and used them to tie the canoe together. This worked well on the center seam where the holes I drilled matched up nicely. On the side seams my holes were off by about an inch and the fit wasn't as good. I kept the wire ties loose at this point. Before tightening them down, I need to make sure the hull is straight.


I added spreaders to the two halves of the hull to give them a temporary shape. The boards are really flexed being in that shape and adding the spreaders caused some minor cracking. I'm not too worried however, as adding the fiberglass should solidify and seal the final hull.

It's starting to look like canoe! Putting the two ends next to each other was satisfying.

Good projects never die

May 17, 2013
My last post was a little while ago. That summer I tore my ACL and meniscus and put the canoe plans on hold. The materials traveled around with me for 4 years and 2 new locations. This spring I decided it was time to finish this long overdue project. I had all of the boards cut, so the first order of business was drilling holes along the edges where I would use wires to stitch the plywood together.
After accomplishing that on a beautifully sunny day, it was time to epoxy one side of the boards. The side that would be the inside of the canoe. I chose the more aesthetic sides of the plywood and laid them out in my back yard. The plan is to leave the inside of the hull unpainted and just have a nice wood finish. Not long after starting to epoxy the boards, the wind picked up and started raining twigs, leaves and bugs down onto the wet epoxy, thus encasing that stuff forever onto the boards. I now have an abundantly speckled interior finish to the canoe. Oh well. This is my first attempt at making a canoe and I'm sure this isn't the worst problem I will face. Right now I'm more concerned with making sure thing thing will float.

Tuesday, May 19, 2009

Building begins!


After buying 1/8" bendable Poplar plywood, I decided that I didn't have to make a flat bottomed canoe. So, I changed my plans to something a little more elegant and challenging. The new boat plans should make an ultralight 30 lb canoe with a curved hull.

Here is a picture of the setup. Its pretty klugy, but I am working with what I have. All I did this weekend was finish procuring the tools I need, cut the plywood in half the long way, and mark up the plywood for cutting the rest of the hull. The second photo is a close up of the two sheets of plywood. Working with such thin pieces makes me nervous. I will be surprised if I get through this without having to buy an extra piece.

Sunday, May 10, 2009

Planning and materials

After extensive research I decided that for my first attempt to make a boat, I would make a simple one. Plywood canoes are faster, easier, and cheaper to make then cedar strip canoes. They can be made in as little as a weekend with simple hand tools. There are several websites out there that sell boat plans, however I only found two sets of free plans. One set was for an 18ft touring canoe from JEM Watercraft, the other for the a simpler version of the boat I plan to build from Bateau. I wanted a boat that could carry two people comfortably, yet was very light weight, hopefully under 40lbs.

The canoe I plan to make is a simple flat bottom, single side panel design. I am aiming for 15' 4". The boat will be constructed out of two pieces of 4mm plywood and coated in epoxy. I chose thin plywood to cut down on weight. However, I am fiber-glassing the outside of the hull to strengthen the thin plywood. Some designs glass the whole boat, while others just glass tape the seams. I decided to use slightly thinner tape on all the seams and then use a fairly thin glass for the outside hull. I went with six ounce fiberglass tape and cloth.

The fiberglass and epoxy are going to be the most expensive materials. Today I ordered them from USComposites, which was the cheapest supplier I could find. I also arranged to borrow the tools I don't have. Hopefully next weekend I can start building. Here is a material and tool list with projected costs for the boat. The whole thing should wind up costing around $200.

Canoe material list and cost
(covers the portage yoke and rub rails, but not seats.)

plywood - 1/8" or 3/16" best plywood, 2 sheets - $30
rub rail - 2 (1x2") batens, 19' long - $8
portage yoke - 1x6" hardwood, 1 yard - $4
fiberglass tape - 4", 6 ounce, 50 yards - $26
fiberglass cloth - 6 ounce, 6 yardds - $37
epoxy - 1.5 gallons - $65
sawdust - 1/2 gallon (make my own!)
paint - quart? ~ $20
probably some extra scrap wood?
pcv pipe (for C clamps) - 3", 6 feet - $4


Tools:

skill saw
hand saw
saw horses
drill
wood screws
sanders
scrapers/planes
dust mask
putty knives
disposable foam brushes

Followers